If you have just installed Windows 11, you might be looking for ways to change the time zone first. Without setting up the correct Time & Date, you might face internet connectivity issues. So, if you cannot find the option to change the Time Zone on Windows 11, you are reading the right guide. In this article, we will share a step-by-step guide on how to change your time zone on Windows 11. Also read: How to Change Time & Date On Windows 11
Steps to Change Your Time Zone on Windows 11
Usually, Windows 11 automatically sets your PC’s time zone based on your location information. But, if you have disabled the location services, here’s how to change the time zone manually.
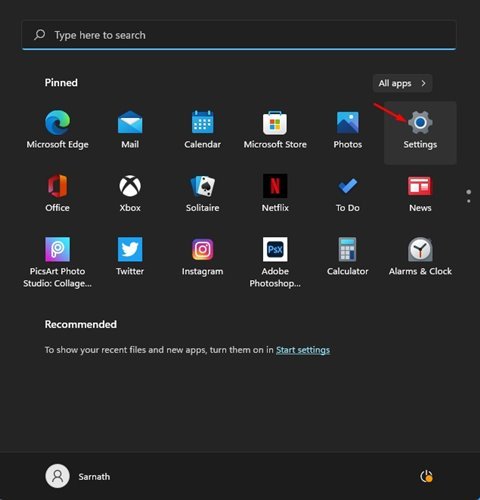
First of all, click on the Windows 11 search button and search for Settings.
Open the Settings app from the list of options.
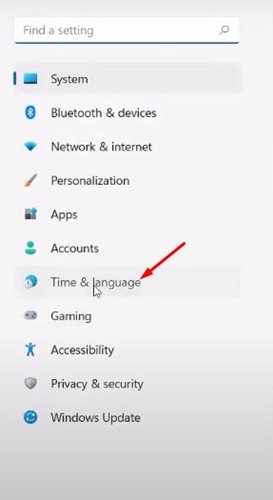
On the Settings page, click on the Time & language option located on the left pane.
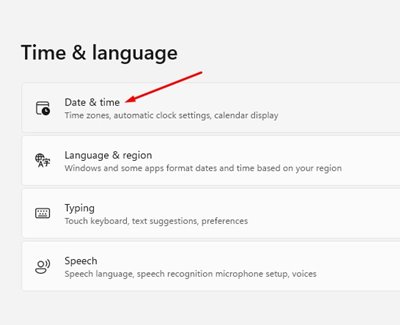
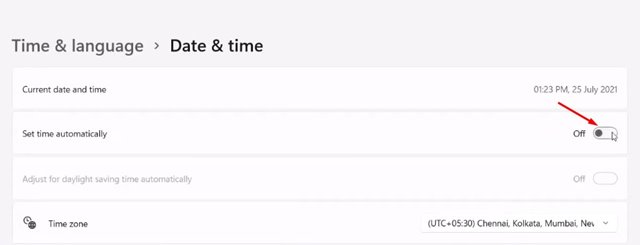
On the right pane, click on the Date & time option as shown in the screenshot below.
On the next screen, disable the option Set time zone automatically.
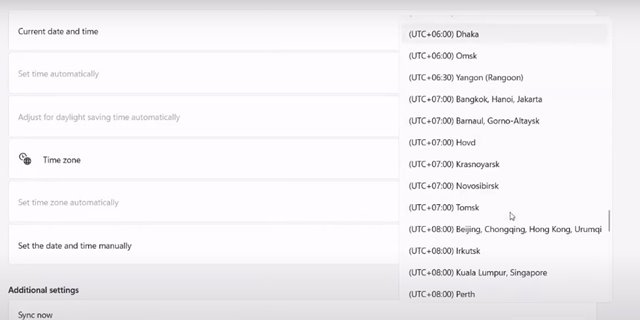
Now, on the time zone option, click on the drop-down menu and select the time zone you would like to use.
That’s it! You are done. This is how you can change your time zone on Windows 11. So, this guide is all about how to change your time zone on Windows 11. I hope this article helped you! Please share it with your friends also. If you have any doubts related to this, let us know in the comment box below.
Δ