Since the new operating system is still under testing, it’s not a good idea to install it on your primary system. You might face lots of bugs and errors while using Windows 11. Still, if you want to give Windows 11 a try, we recommend installing it on a virtual machine first. However, if you want to run a different operating system on your PC, you must first confirm whether your PC has the Virtualization feature enabled. Also Read: Best Free Windows 11 Themes, Skins & Icon Packs for Windows 10
Check if Virtualization is Enabled in Windows 10/11
There are multiple ways to check the Virtualization status in a Windows 10 pc. Hence, in this article, we will list a few of them. So, let’s check out if Virtualization is enabled in Windows 10.
1. Using Command Prompt
In this method, we will utilize the Command Prompt utility to check if Virtualization is enabled in Windows 10. So, here’s how to use CMD to check for virtualization features.
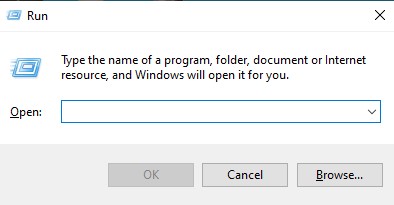
First, press Windows Key + R on your keyboard. This will open the Run Dialog box.
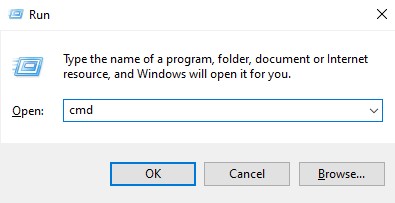
On the RUN dialog box, enter cmd and press the Enter button.
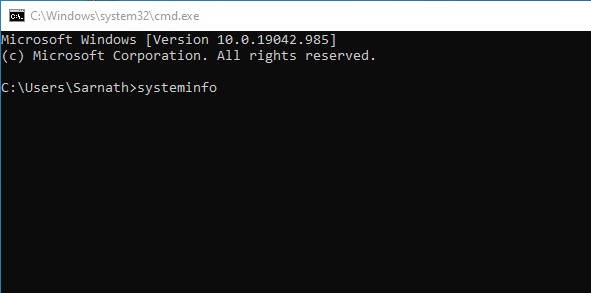
Next, on the Command Prompt, type in ‘systeminfo‘ and press Enter.
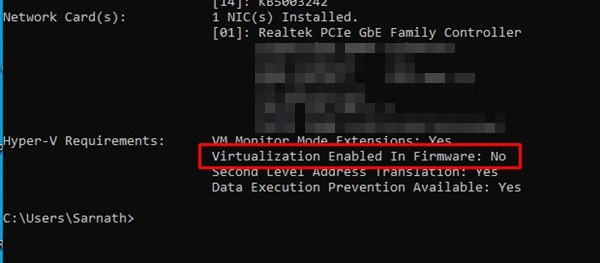
Under the Hyper-V requirements, check for Virtualization Enabled in the Firmware option. If Virtualization is turned off, it will show you ‘No‘. If it’s enabled, it will display ‘Yes‘
That’s it! You are done. This is how you can check if Virtualization is enabled in Windows 10 or not.
2. Using Task Manager
Well, Windows 10 Task Manager serves as the easiest way to check if Virtualization is enabled or not. Here’s how you can use Task Manager to confirm the virtualization status in Windows 10.
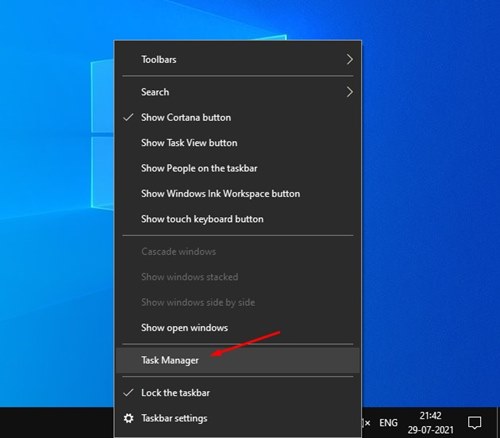
Right-click on the Taskbar and select ‘Task Manager.’
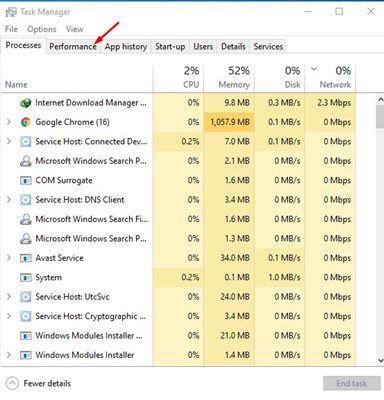
This will open the Task Manager. Next, select the ‘Performance‘ tab.
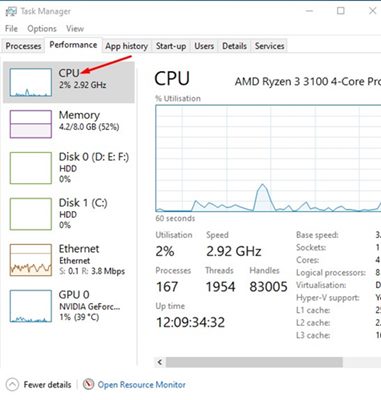
Next, on the Performance tab, select the ‘CPU‘ option.
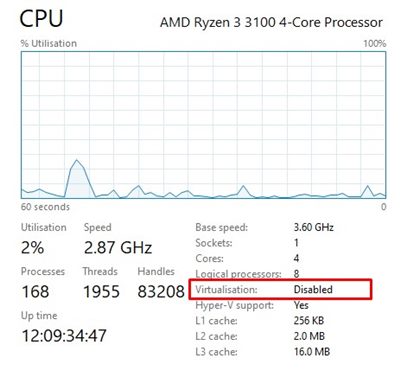
Next, on the right side, find the Virtualization option. If it shows ‘Disabled‘, then it means Virtualization is not enabled on your system.
That’s it! You are done. This is how you can use Task Manager to check the Virtualization status in Windows 10. If Virtualization is disabled, you must enter the BIOS setting and check the CPU section. On the CPU section, you need to locate and enable the Virtualization option. Once enabled, you can use Virtual machine programs. So, this guide is all about checking if Virtualization is enabled or not in Windows 10. I hope this article helped you! Please share it with your friends also. If you have any doubts about this, let us know in the comment box below.