If you have a compatible device, you can enable and use the facial recognition feature on your Windows 11 computer. If you allow Facial Recognition (Windows Hello) on your device, you can use your face to sign in to Windows apps and services. Other than Facial Recognition, Windows hello offers a few other security options, such as Fingerprint recognition and PIN. You can enable any of these features on your Windows 11 to add a layer of security. This article will discuss Windows Hello Face authentication, which utilizes a camera specially configured for IR imaging to authenticate and unlock Windows devices. So, if you want to set up Windows Hello facial recognition on Windows 11, you are reading the right guide.
Enable Facial Recognition on Windows 11
This article will share a step-by-step guide on quickly and easily enabling the facial recognition feature on your Windows 11 operating system. The steps will be straightforward; follow them as directed. Let’s get started.
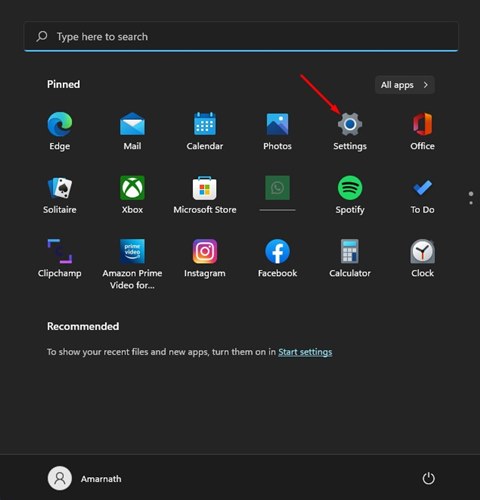
First, click the Windows 11 Start button and select Settings.
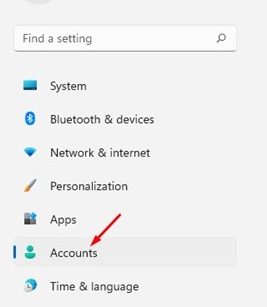
On the Settings app, click on the Accounts option located on the left pane.
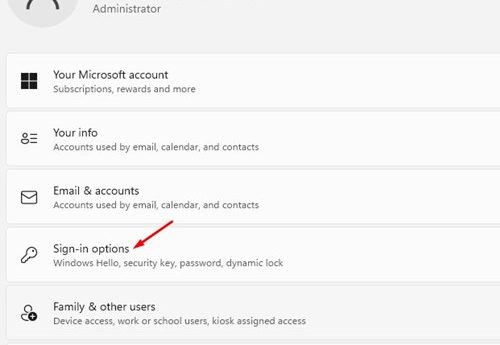
On the right pane, click on the Sign-in options below.
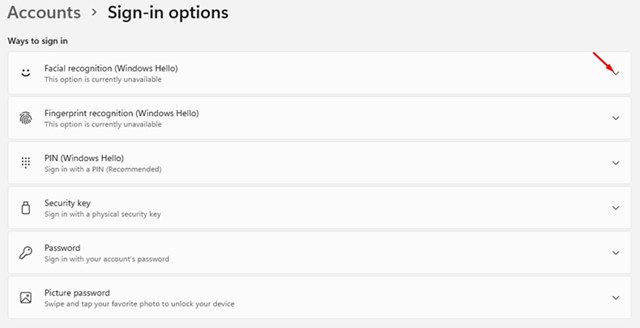
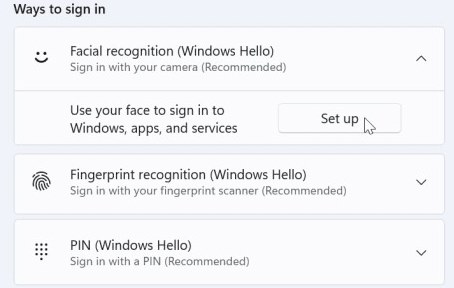
You will find multiple options on the next screen. To set up Facial recognition, click and expand the Facial recognition (Windows Hello) option.
Now click on the Setup button behind ‘Use your face to sign in to Windows, app, and services.
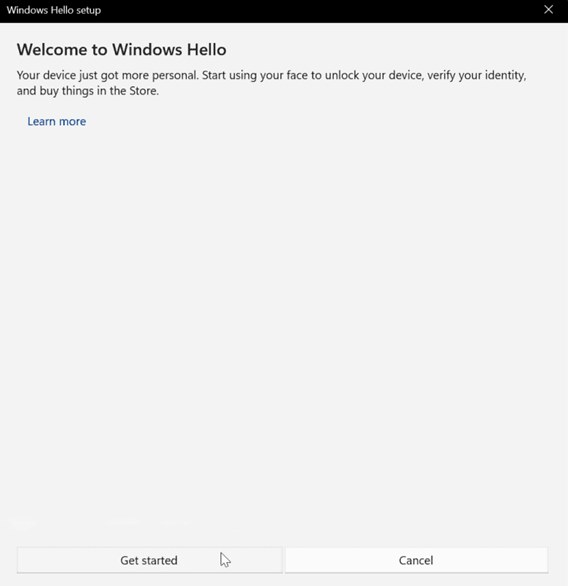
On the Welcome to Windows Hello window, click on the Get Started button as shown below.
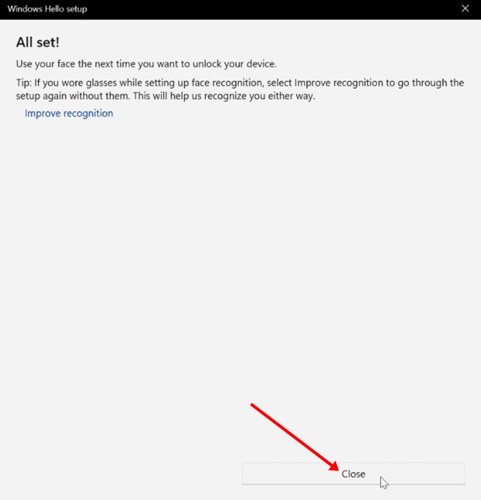
Now, you must look into the camera and create a facial recognition profile. When the process is completed, click on the Close button.
That’s it! This is how you can enable facial recognition on Windows 11 operating system. Now press the Windows Key + L button to lock your computer. On the lock screen, look into the camera to unlock the PC. You are done.
Steps to Remove Facial Recognition (Windows Hello)
If you wish to remove the Facial recognition on your Windows 11, follow some simple steps below.
First, click the Windows 11 Start button and select Settings.
On the Settings app, click the Accounts option on the left pane.
On the right pane, click on the Sign-in options below.
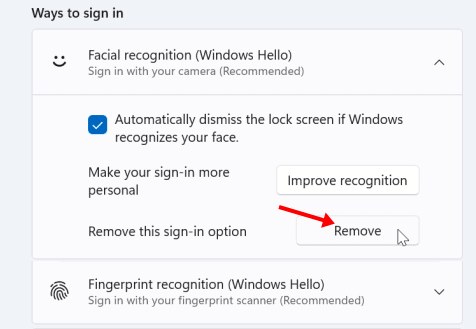
You will find multiple options on the next screen. To disable Facial recognition, click and expand the Facial recognition (Windows Hello) option.
Next, click on the Remove button behind the Remove this sign-in option.
That’s it! This will remove your facial recognition profile and will disable the feature. So, this guide is all about how to set up Windows Hello in Windows 11 operating system. I hope this article helped you! Please share it with your friends also. If you have any doubts, let us know in the comment box below.