This is possible with the help of VirtualBox and Android-x86 design. You can run android apps/Games on your PC with accelerated graphics performance by running Android on your computer.
Steps to Install Android On PC Using VirtualBox
You have to follow the simple steps of this tutorial to install Android on a PC using VirtualBox this tutorial.
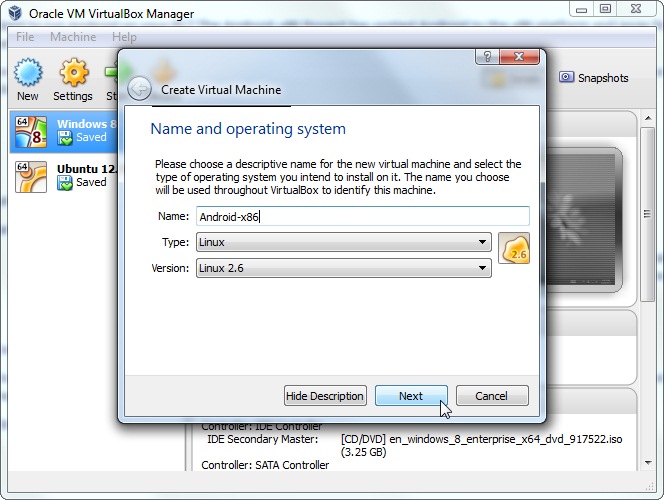
- Install VirtualBox on your PC. Open VirtualBox and select New. In the dialog box, enter the name your wish and select
Type: Linux Version: Other Linux select Next.
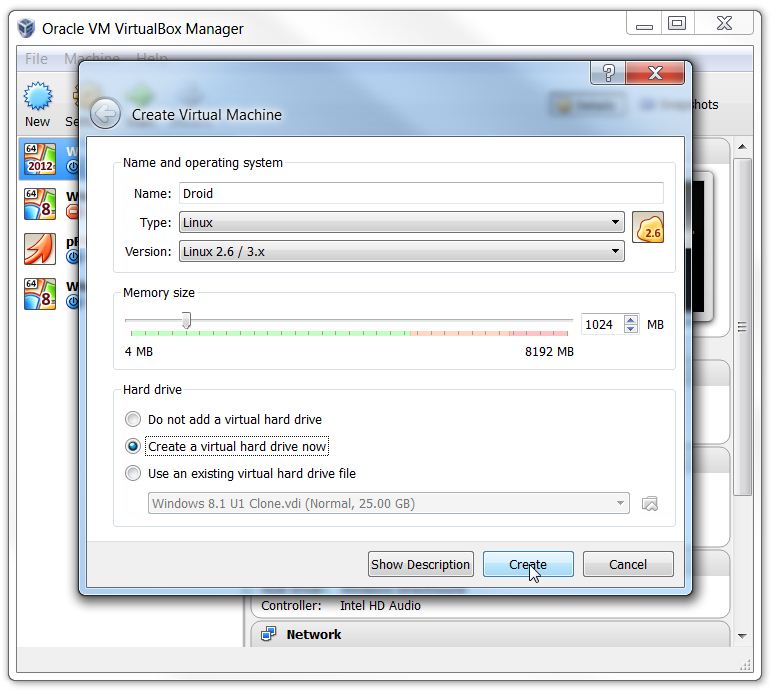
Now, Enter the memory size as your wish. Note: Minimum 1 GB required for KitKat and click on next.
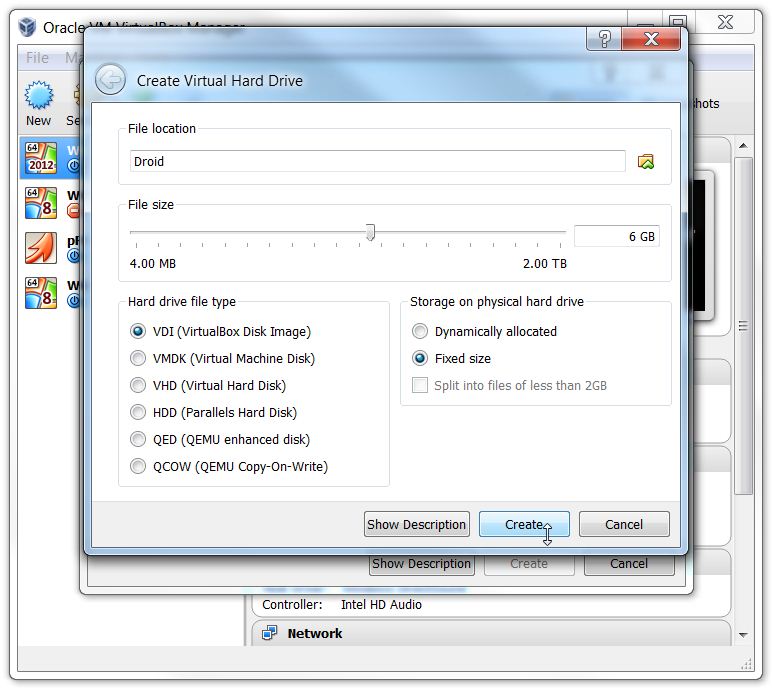
In the next dialog, select create a virtual hard drive. Select VDI or VHD, select fixed or dynamically allocated as you wish, and create the virtual drive.
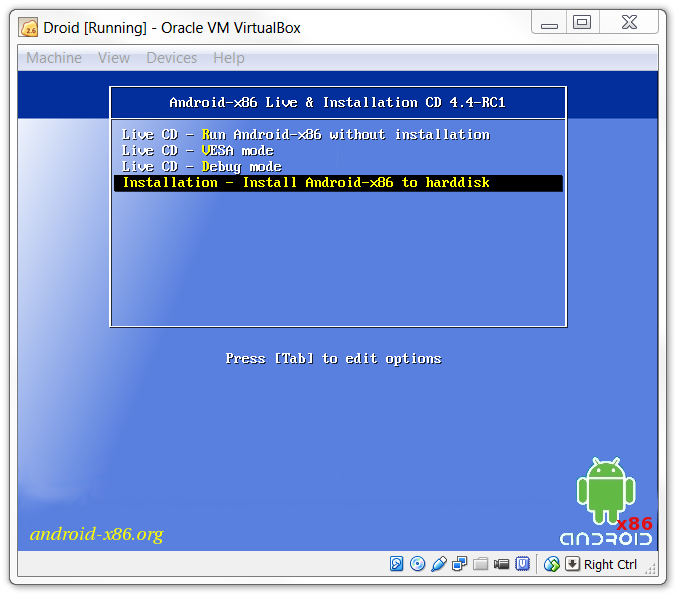
Then start the virtual device. In the screen, select Install Android-x86 to hard disk.
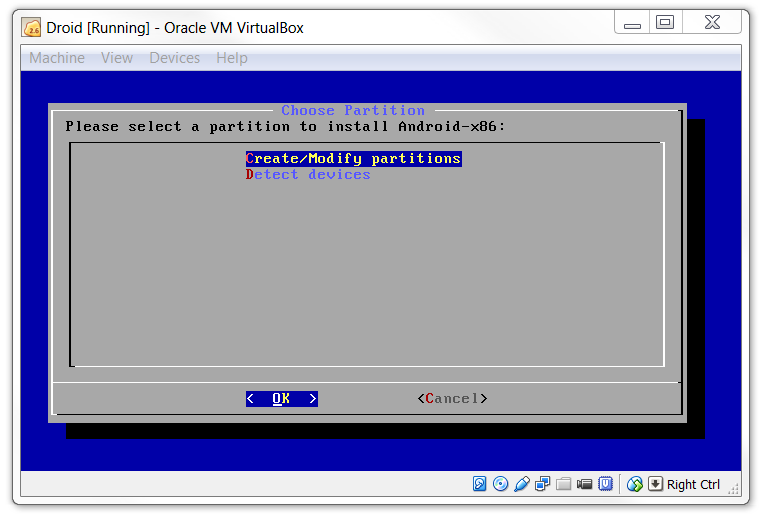
Next, select Create/Modify Partition.
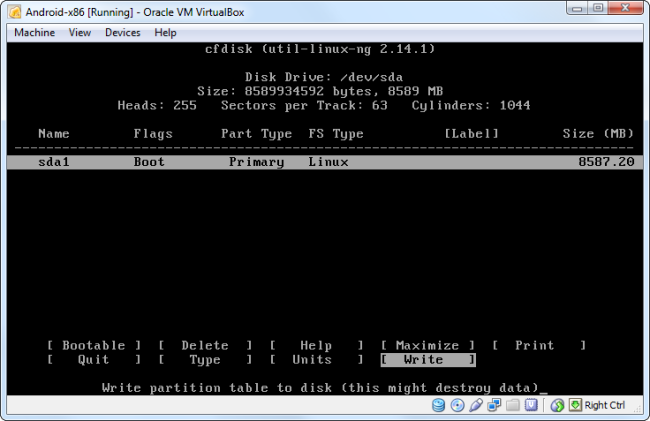
Then, create a new primary bootable partition and select write.
Install Android in sda1, select type as ext3, and choose yes for installing.
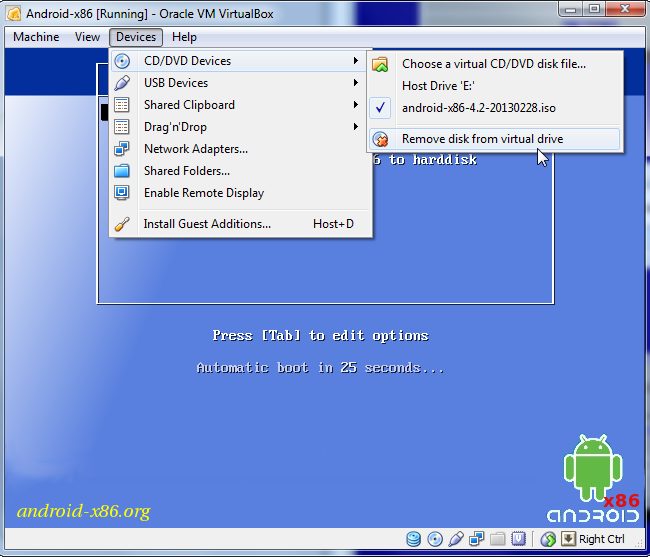
After installing, remove the live iso from VirtualBox and reboot. Now you can boot into Android.
So above is the tutorial to Install Android on a PC. You can easily install Android on your PC with the above method. I hope you like the article! If you face any problems, discuss them in the comments.